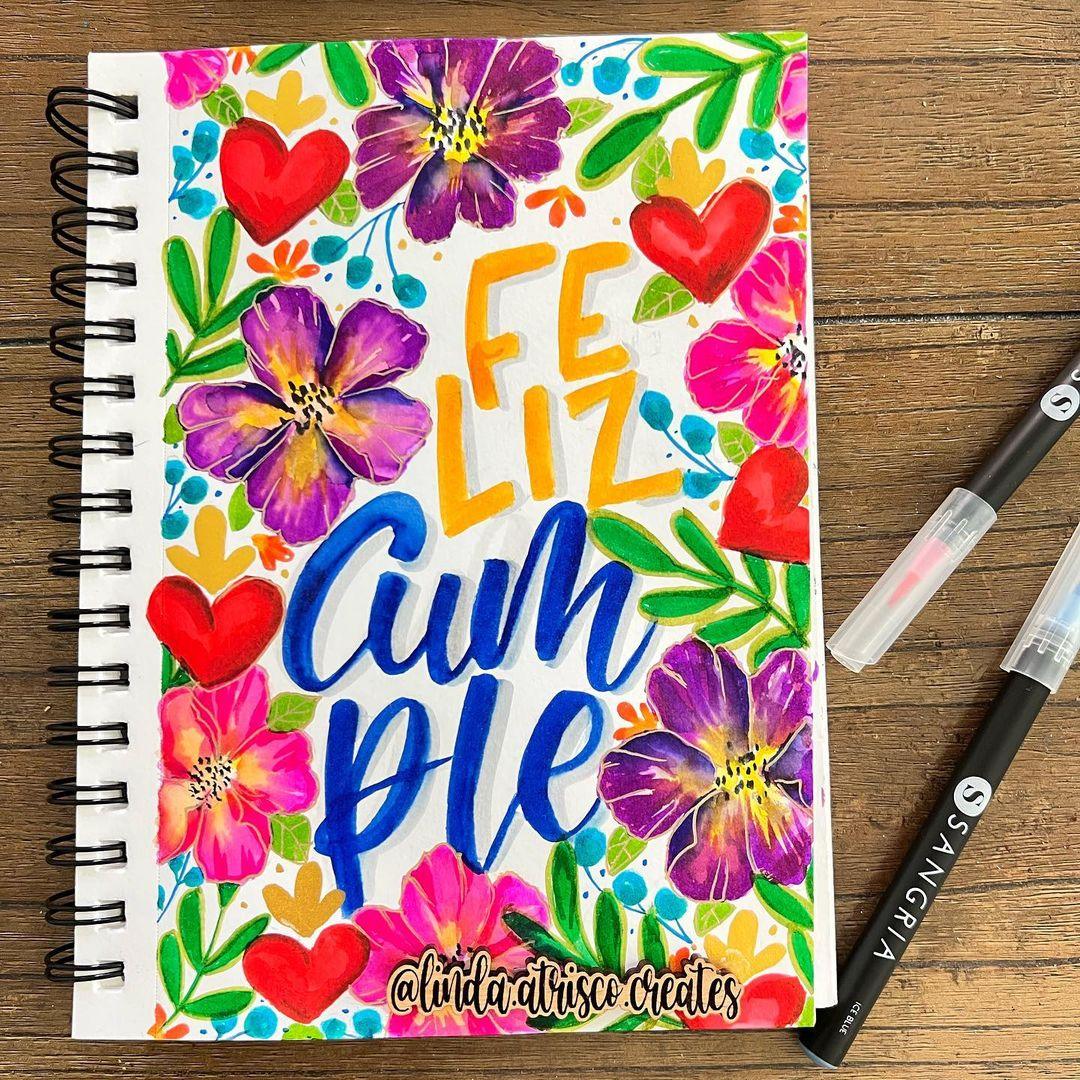
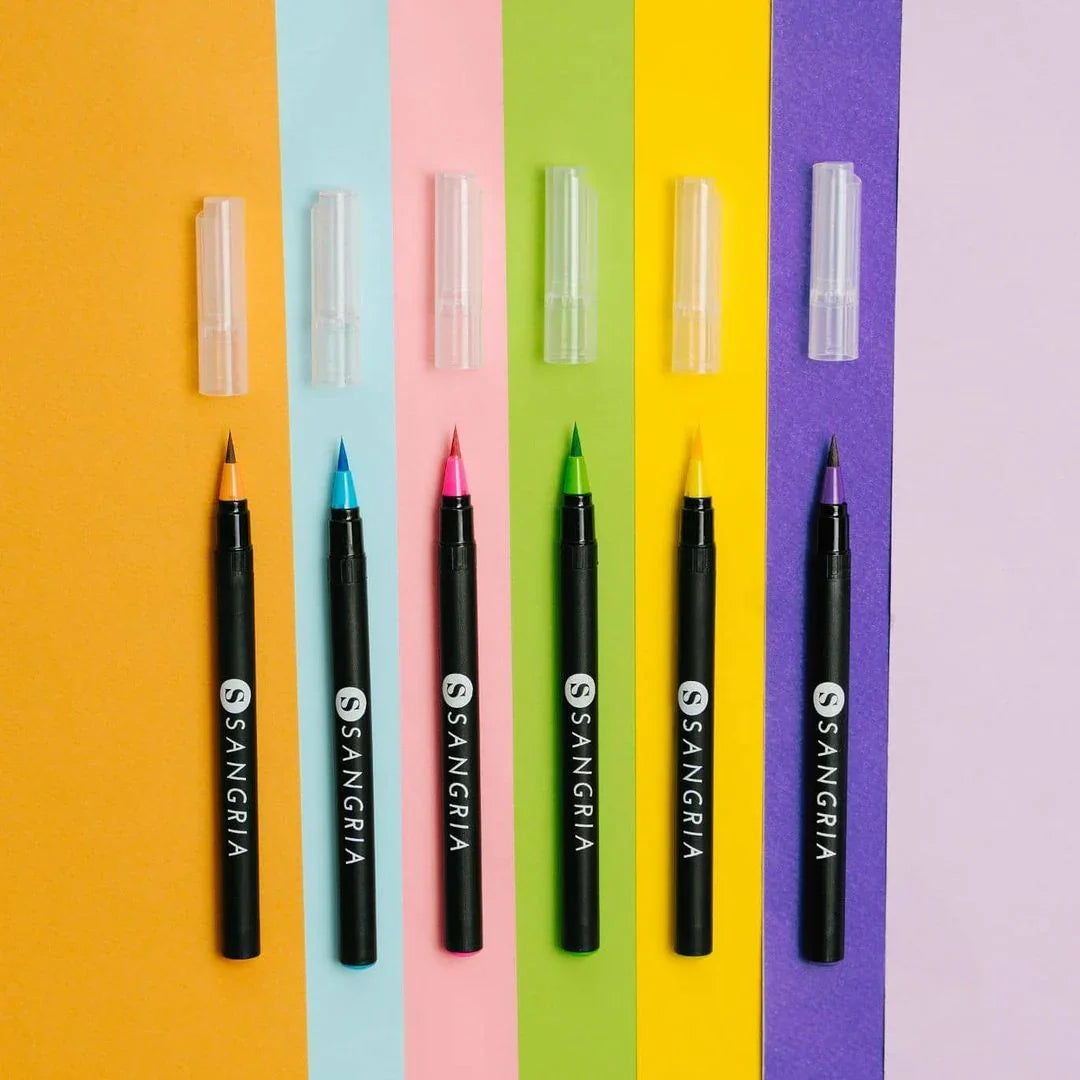
You’ve got your watercolour brush pens. Now what? If you’ve ever thought, "How do I actually use these things?" – don’t worry, we’ve got you.
Getting Started with Watercolour Brush Pens
The beauty of these pens is that they’re so easy to use. No need for palettes, just grab a brush and some water. Here’s how to get that gorgeous watercolour look:
-
Light Touch is Key – These pens work like real brushes. Use gentle strokes for soft colour, and press harder for bold lines.
-
Blend with Water – Dip a paintbrush in water and go over your strokes. The ink spreads like magic, giving that true watercolour effect.
-
Layer Your Colours – Want a gradient effect? Start with a light colour and layer on darker tones.

Fun Watercolour Brush Pen Techniques
🎨 Ombre Washes – Scribble some colour on the edge of your paper and use a wet brush to drag it across.
🎨 Splash Effects – Use a toothbrush to flick water onto your page for a cool, artsy look.
🎨 Ink to Palette – Scribble onto a ceramic plate and pick up the colour with a wet brush for a softer effect.
Best Paper to Use?
Regular paper = smudges and frustration. Get yourself some watercolour paper (at least 200gsm) for the best results.
And that’s it! You’re now officially a watercolour pro (or at least on your way there). Tag us on Instagram if you create something amazing!


